01
Inspection First
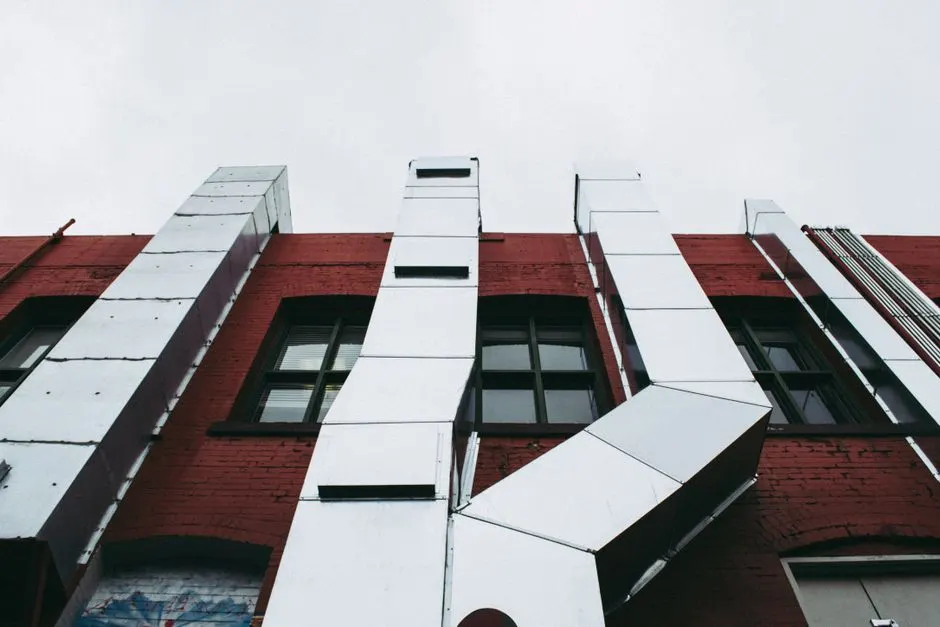
We start at the exterior vent cap and work backward. A duct inspection camera shows us where the blockage sits, whether the flexible duct has crushed sections, and whether rodents have chewed through the wall. You see the same screen we do. This step takes 10 to 15 minutes.
02
Disconnect and Contain
We unplug the dryer, pull it out on a protective mat, and disconnect the transition hose. A negative air machine hooks up at the vent opening to pull dust outside instead of into your laundry room. Drop cloths cover the floor and the top of the machine.
03
Brush and Extract
A rotary brush system spins through the full length of the duct, loosening packed lint from the walls. We follow with an air whip and compressed air nozzle on stubborn sections. Everything loosened gets captured by the HEPA vacuum and negative air machine. No dust cloud, no mess left behind.
04
Verify and Reconnect
We run the camera through a second time to confirm the duct is clean and the exterior flap opens and closes properly. Then we reconnect the transition hose, check the clamps, and seal any leaking joints with duct sealant. If the transition hose is crushed or foil-only, we swap it for a semi-rigid or sheet metal duct.
05
Airflow Test and Walkthrough
We run the dryer on high heat for five minutes and measure exhaust at the exterior cap. You see the airflow and get a written summary of what we found, what we cleared, and how often you should book again. If you want to add coil cleaning HVAC or whole-house duct work while we are there, we quote it on the spot.